
How to Make an Android App in a Few Days, Part 2: Making the UI

Welcome to my tutorial on making an Android app in just a few days! Last time, we got started by downloading Android studio and setting up a project. If you missed that, check it out here: How to make an Android app in a few days, Part 1: Getting started.
What’s an app without a way for us to actually use it? We want to make something that other people can use well, and that requires making a UI (User Interface). So that’s what we’ll be doing!
Step 1: Opening our layout file
To edit our UI, we have to open a file called activity_main.xml. This is a file that contains the layout for our UI, which means it determines what the user sees. This file can be found here:
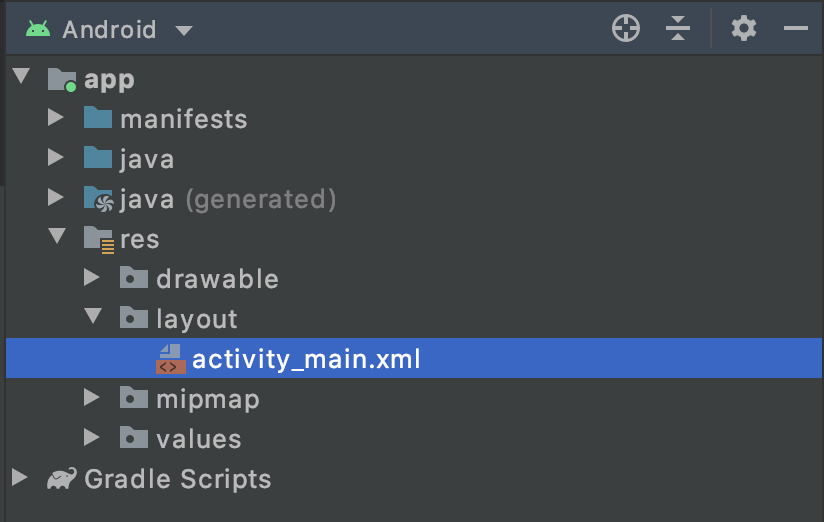
When you open this file by double-clicking on it: you should see something like this:

Let’s style this up a bit.
Step 2: Creating the layout we want
For a calculator app, we first need to let the user put in two numbers. For this, we need to add some inputs to our UI. In the palette, head to the Text category and you should see an option labelled “Number (Decimal)”.
Step 2.1: Adding the number inputs

Let’s add two of these inputs to our layout so the user can throw in some numbers.

Next, we’re gonna want to align these two inputs so that they look nice on the screen. That involves giving them constraints, which let the phone know what borders our inputs should have.
What constraints do is tell our layout what our components (such as the two inputs) should be bounded to, vertically and horizontally. It’s similar to the rope that an astronaut has to connect them to the space station: without any ropes to keep them grounded, our components would be floating around, not knowing where they should be.

This is our layout without constraints.
To add constraints, click on one of your inputs and notice those white circles on the edges of it. Then, drag an arrow to where you want the input to be constrained to. In this case, we want to constrain our inputs to the start and end of our screen. This also nicely centers them automatically. This should look like this:

Now, we have our two inputs, where the user can throw in some numbers.
Step 2.2: Adding a button
Now, we want to add the button that adds the two numbers together when it’s tapped on. Doing this is very similar to adding the two inputs, except we want a Button this time. Let’s drag a button into our layout.

Next, let’s give it a better name than just “Button”: let’s head over to the attributes tab and change the name there.

Step 2.3: Adding the result text
The final thing to add is a bit of text to show the user what the result of the calculation was.

While we’re at it, we can also remove the “Hello World!” text from our layout. We just highlight “TextView” in the component tree and click backspace.

Step 2.4: Adding remaining constraints
With the stuff we added, the user can now:
Input two numbers,
Add those two number together when they want to,
See the result.
We have everything we want, and you might remember that earlier we set the horizontal constraints, which are those lines that we attached from our components to the start and end of the screen. That’s to make sure our components know where to put themselves horizontally. However, vertically, our components are still floating in space with nothing to hold them to the ground. That’s why we have to add vertical constraints just like we did the horizontal ones.

Very important: Make sure all of the components have some kind of horizontal and vertical constraint.
If we don’t do this, our layout will not look how we want it to: something will be floating around or default to the top of the screen. A good way to tell whether all of our components have constraints is by checking our component tree:

If your component tree looks something like this with the yellow warning signs, that’s how we want it to look. The warning signs are something we don’t think about.

If any of your components have a red warning sign like those, then you haven’t put a horizontal or vertical constraint in somewhere, and you’ll need to add one in. Same procedure as before: hold your mouse down on one of the white circles on the edges of the component in question, and drag an arrow to either the side of the screen or a component above it. In the end, your layout should something like this:

Step 2.5: Rename our component IDs
The final step is a really small one: first, we want to give our components IDs that are recognizable. We will want to remember these IDs as we will need them later.
We can do this by heading to the attributes tab and clicking on our components. One by one, we can change the ID of our components:

After you changed all the IDs to something more memorable, you can see them in the component tree:

As we can see, the names are different to what they were before.
Summary
And we’re done with another part of the app! We have:
Added two inputs where the user can input numbers,
Added a button which adds the two numbers together,
Added a text component which will display the result of the added numbers,
Added constraints to all of our components to stop them from floating around,
Renamed the component IDs to something more recognizable, so that we can use them later.
At this point, we have our app looking the way we want it to look, but we can’t actually add anything yet. So, let’s move on to the final part of this series: adding the functionality to our UI!